Monday, February 23, 2015

Ric Rac Teeny teapot


This gorgeous little Ric Rac Teeny Teapot pattern came in the February Sew Box Subscription box and I absolutely loved putting it together. I think it needs to be renamed teeny, tiny, minuscule teapot though as it is small! 

I hope to use a thicker felt on my next version but this gorgeous wool felt from Bumble Bee Designs was just lovely.  The teapot uses such a small amount so it is worth spending a little extra for the lovely wool felt. 

Looking at my photo here, I really need to practice my french knots but I just loved playing an adding the little flowers all around with my hand embroidery. 


Miss 6 has requested on for herself so I better whip up another. Actually I may just do a couple at the same time as I think they would make awesome pin cushion presents for the various sewist swaps I join. 

What do you think? Want to join me for a tea party?


Follow my blog with Bloglovin

Thursday, February 19, 2015

Sew Delicious Quilt Block Boot Camp - I'm joining in.

My bloggie bestie, Ros aka Sew Delicious has started a Quilt Block Boot Camp. I'm not a quilter. Yes I'll give it a go but I wanted to improve my accuracy - in cutting, sewing and construction. If I only have to do one little block a week, I can easily fit in the time to do that, right?

Ros started a Facebook group and each week announces the new block to try. Now I don't intend to create 52 cushions this year but that is what happened to the first two. 


Week one was this gorgeous Raspberry Kiss Quilt Block by Wooden Spoon Quilts. I played around a lot with different fabrics for this one. Really tested what would work together. This block is only little (4 1/2" square) so small prints work best. 

This one was donated to my son's third grade teacher as the two cushions she has in the reading corner are woeful. They might end up with a few more in the next few months. 


Week two was the Simple Heart Block by Cluck Cluck Sew. I actually cut them a little smaller than the tutorial (there is another table on her blog). I originally planned to do another 9 block cushion so cut a few more rainbow colours but as you can see, I'm clearly not spatially aware and didn't consider the end size!!

I loved how this one came together and it went along as a gift for a 6 year old little girl on the weekend. She loves it which is great. Was certainly a risk giving this instead of a toy!


Pop on over to Sew Delicious and join in the fun - if you want to expand your quilty skills.

Friday, February 13, 2015

Lil Pip Sew Box Purse - with embroidery thread detail

I feel like this doesn't really warrant an entire post but in my desire to have different options for a whole week, I'm just going with it. 


This is the straight line version of the medium clutch I designed. I do personally prefer the wider bottom but this one is growing on me. 

For this one I decided to use embroidery thread to sew the frame on. I did a straight stitch and just went up and down so not the back stitch I recommended in the tutorial. I figured with the extra strength of the strands that is would hold well. It is also a little less messy on the inside if that bothers you. 


So that concludes my week of inspiration. Which one is your favourite? Don't forget to share on social media (I love Instagram!) using the hashtag #lilpipsewboxpurse 

I've had a few people ask to buy the pattern. I'm working on it and hope to have it ready soon. Thank you for your support!


Thursday, February 12, 2015

Lil Pip Sew Box Purse - how to make a glasses case

Is a glasses case dorky? Is it very granny to make one with a metal frame clasp? Do I even care or do I love the fabrics my 8yo boy selected for me!! ("You love purple mummy").


To make this one I used the square bottom pattern. I extended the bottom by 3 inches (I just placed my glasses on top and eyeballed it). I then extended the side line from top to bottom. Just make sure you don't change the shape a the top so it still fits the frame (basically from the curve point at the top, draw an angle line to the bottom). 

I also used the fusible webbing on the outer but possibly should for the lining too. Just for extra padding. I'll be careful about where I use this and not just throw it in my handbag. 

You could also put quilting lines on this too which would be quite cool. 


What do you think? Will you make a glass case for yourself? Can we make them cool again? Together. Please lol

Don't forget to share on social media (I love Instagram!) using the hashtag #lilpipsewboxpurse and check back tomorrow for my last variation to try.

Wednesday, February 11, 2015

Lil Pip Sew Box Purse - glam version with beading


I really wanted to make a glam version clutch. Something I could take to go out with my girlfriends. Something I know they will say - "Love your bag, where did you get it?". To which I can respond - I made it!! Yay!

This one was slightly more challenging and one you should approach carefully. 


Follow the instructions for the clutch already provided. I layered the lace over the outer fabric, sandwiching between the two pieces, pinned like crazy and sewed it together. I probably should have basted it together. 

This black lace was used on a bridesmaid dress my sister once wore. It must have cost a bit as my mum saved and gave me all the scraps of the lace and the silk. I love how the blue pops out underneath. 

Really expensive black lace and then a Spotlight quilted cotton on the reverse!

To sew the beads, simply follow the normal back stitch method and thread a bead or crystal in each stitch. This would have looked awesome with blue beads but I used what I had on hand. And therefore the reason they don't quite go all the way around. Oh well, I still love it!


What do you think? Will you make a little glam, evening clutch for yourself? I'm sure this wouldn't look out of place when I do the school run right?

Don't forget to share on social media (I love Instagram!) using the hashtag #lilpipsewboxpurse and check back throughout the week for other examples.

Tuesday, February 10, 2015

Lil Pip Sew Box Purse - with quilt as you go

I've been wanting to do this style of purse or quilt ever since I saw it on Pinterest a long, long time ago. I have to admit that I really struggle with the free style that this kind of work requires. I like structure. Order. Follow a set pattern. Nope with this you just wing it. 


It is a great way to use up your favourite scraps and suits small fabric designs (of which I don't have many!). 


What do you think? Is this a style you would like to try? I have to admit, I'm kinda thrilled with the end results. 

Don't forget to share on social media (I love Instagram!) using the hashtag #lilpipsewboxpurse and check back throughout the week for other examples.


Monday, February 9, 2015

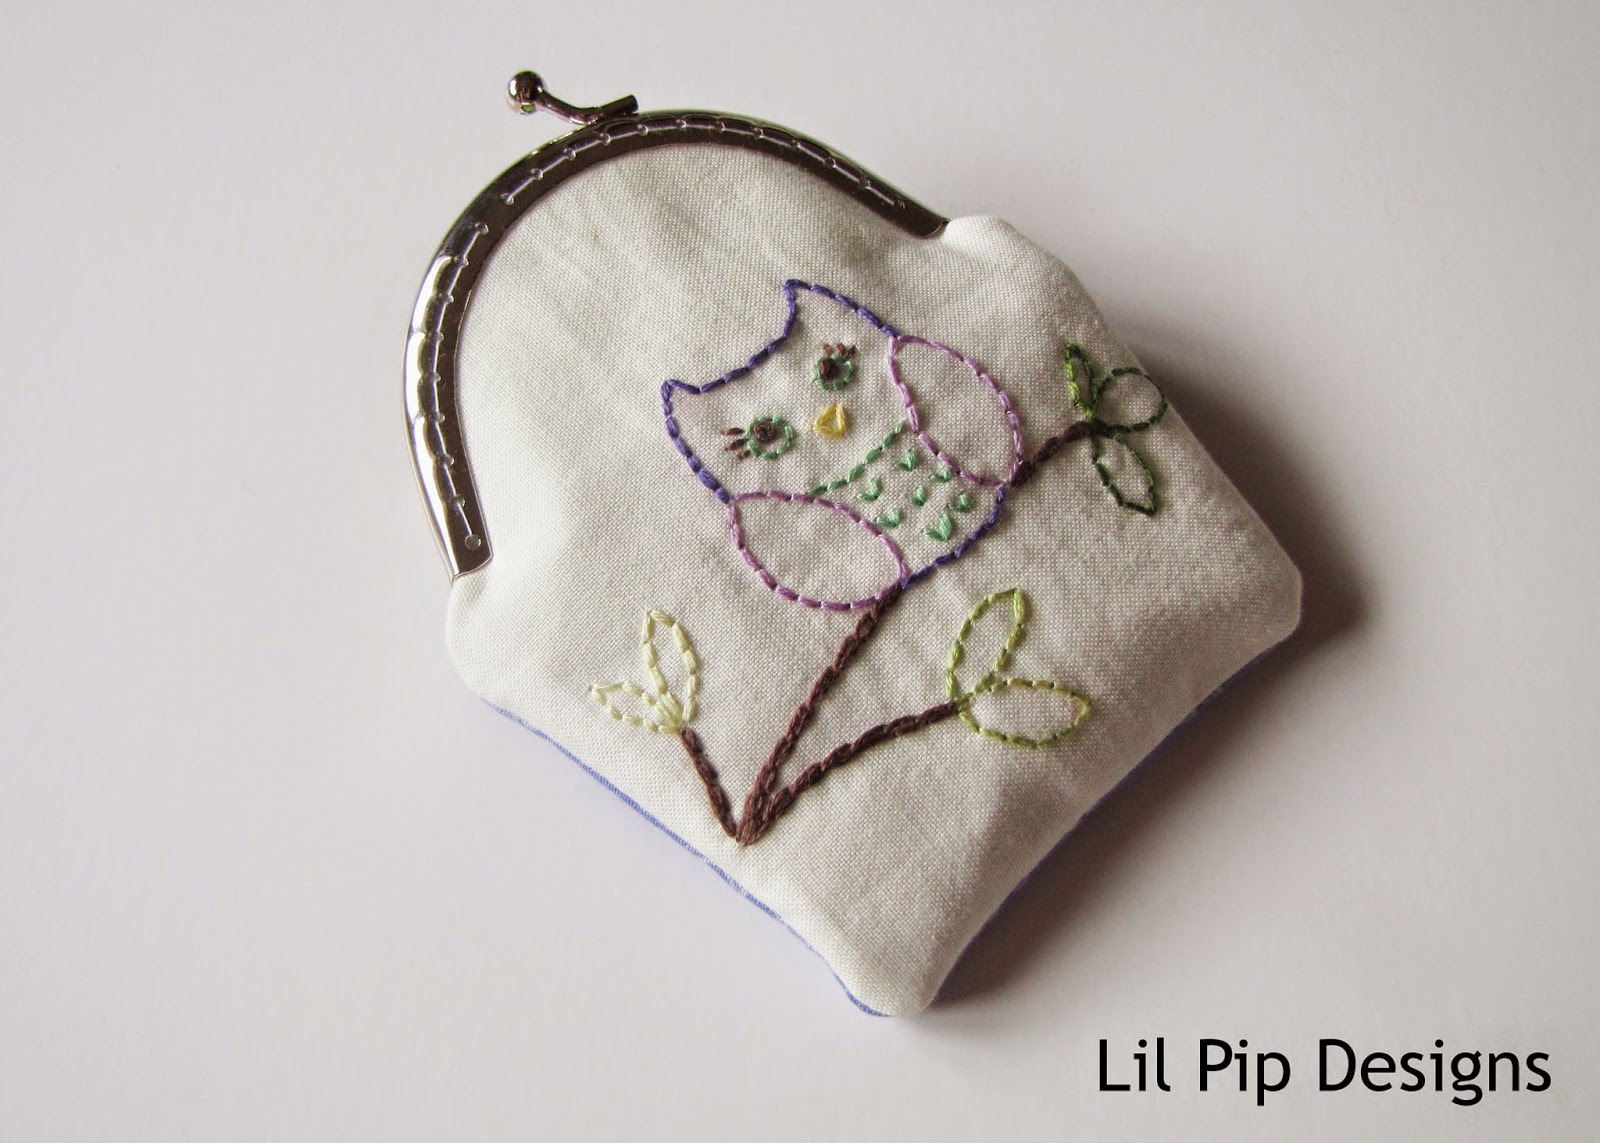
Lil Pip Sew Box Purse - with hand stitching

If you are a new visitor to my blog, you may not know that I have a bit of a thing for owls. I think foxes and flamingos are the new 'thing' but I'll stick to my love of owls. 

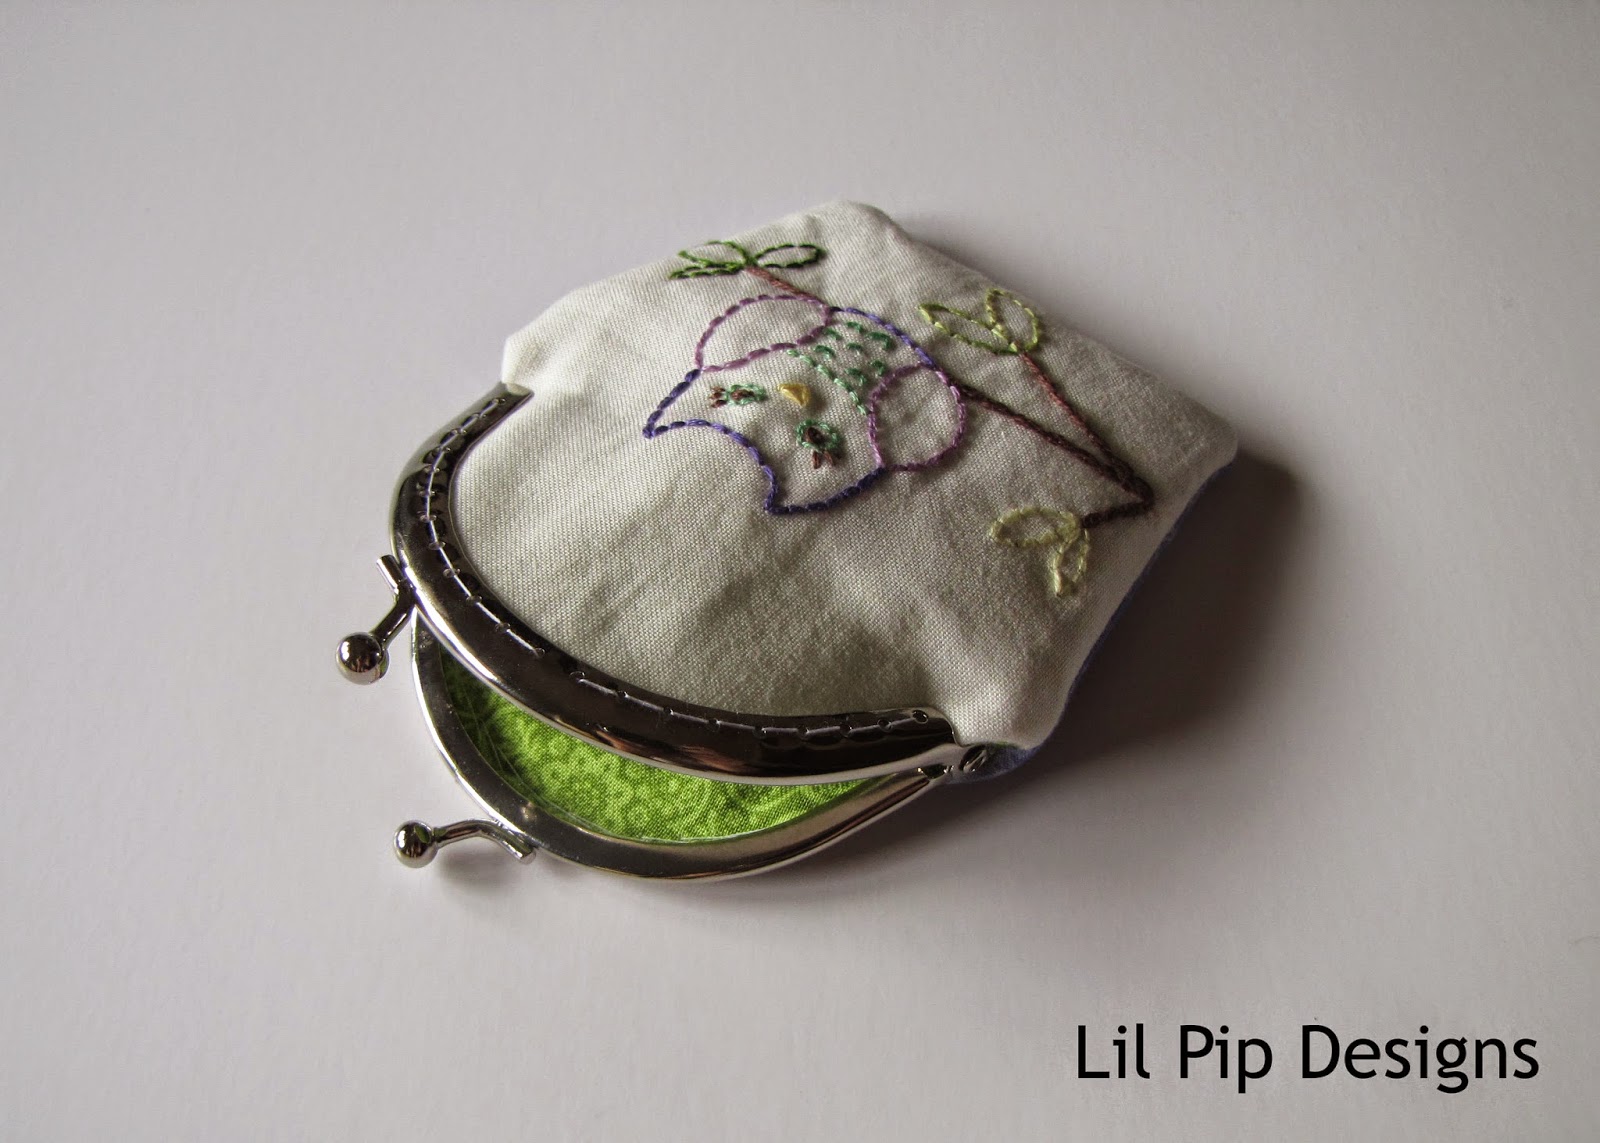
This coin purse is an example of the other option in the pdf pattern I provided to the Sew Box Subscribers - with a square bottom instead of rounded. I honestly am not sure which I prefer as I love them both. 


This is a self drafted little hand embroidery. Nothing too hard as I like the simplicity of back stitch. A couple of french knots for the eyes and ok a little chain stitch on the branches but you could just do back stitch here too.


I love the purple reverse and the bright green lining peeking out!


Will you give hand stitching a go? Strawberries? Animals? What would you try?

Don't forget to share on social media (I love Instagram!) using the hashtag #lilpipsewboxpurse and check back throughout the week for other examples.

Friday, February 6, 2015

Lil Pip Sew Box Metal Frame Clutch Tutorial


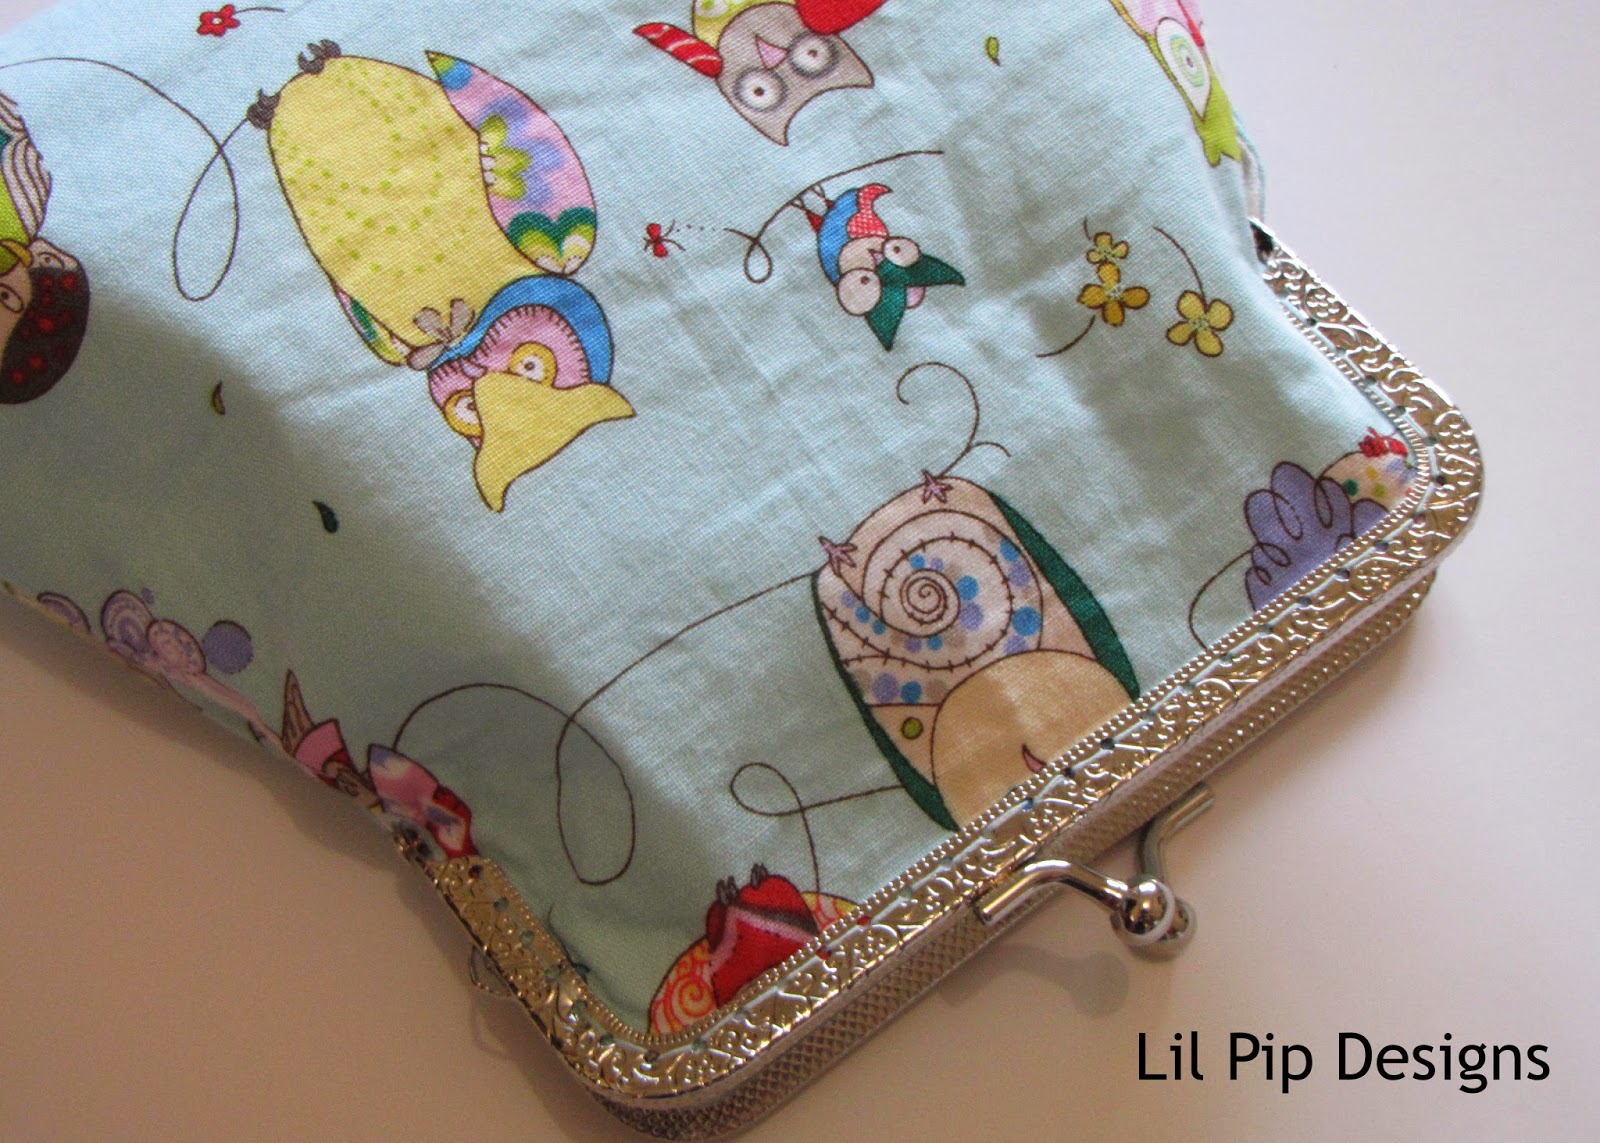
Welcome back! Yesterday I showed you how to make a little coin purse, today I will show you how to make the medium sized clutch that was provided in the Sew Box Subscription for February. If you aren't a subscriber (why!!) you can take a look at my post yesterday for the resources I used to create this pattern so you can make your own. 

Lil Pip Sew Box Clutch 

There are two pattern styles of clutch for you to choose from - the straight or the 'poofy' (I just couldn't think of a better name lol). 

You can see in this photo below the type of finish and shape. Choose whichever you prefer, the steps are the same, just the end result slightly different. 


Use a 3/8" (edge of my foot!) for all seams throughout.

Step 1 and 2: Follow steps 1 and 2 of the coin purse tutorial

Step 3: Before you sew the lining and outer together, decide if you want a pocket. I recommend cutting two rectangles 4.5 x 3 inches, interfacing both pieces. Sew around three sides, leaving a turning gap at the bottom. Centre the pocket on the lining, matching the top edge with the line you sew to in the next step. Sew around the three edges (and closing your turning gap on the bottom edge in the process). This pocket is perfect for keep a couple of cards or a little money. 


Step 4: Follow step 3 from the coin purse tutorial sewing to the point marked on the pattern - which is slightly different to the coin purse. Don't forget your turning gap in the lining fabric. 

Step 5: Now to construct the boxed bottom. Match the two seams as I've shown below and mark a line. This one is 3/4" in from the point but I did variations with 1" and 1 1/4" and they were both great. Maybe sew one at 3/4" and see if you like it. You can always make it bigger (but not smaller!). 


Step 6: Sew along your marked line and trim back with pinking shears or regular scissors are fine. Do this on your two outer fabric corners and your two lining fabric corners.


This shows a 3/4" box corner
 Step 7: Follow steps 4 through to 9 of the coin purse tutorial


If you make one, be sure to share on social media (I love Instagram!) using the hashtag #lilpipsewboxpurse or send me an email. I can’t wait to share your examples. Check out my Pinterest board for more ideas.


'Poofy' clutch example

Straight clutch example

Don't forget to check back next week as I will share different variations and options each day. 


Thursday, February 5, 2015

Lil Pip Sew Box Metal Frame Coin Purse Tutorial

Today I'm very excited to bring you a tutorial I've been working on for a few weeks. When Leesa from Sew Box Subscriptions asked me to create a tutorial for a metal frame purse, I thought ‘sure why not?’. It is always something I have wanted to make but not something I have ever seen a pattern for. I now know why. You see every metal frame is different. Different sizes and different shapes. Plus either sew-in or glue. So essentially, depending on what you buy, you need to create a bespoke pattern for each one.


Lucky for the subscribers to the February Sew Box – I’ve done all the hard work for you with the pdf pattern provided. If you would like to try to make your own pattern, I have a list of resources at the bottom of this tutorial.

Today I will show you how to make a little coin purse. Tomorrow, I will show you how to make the bigger medium clutch with square bottom. Next week, I will show you all different examples and variations in what you can create. I’m calling this – Lil Pip Sew Box Purse week!


If you make one, be sure to share on social media (I love Instagram!) using the hashtag #lilpipsewboxpurse or send me an email. I can’t wait to share your examples. Check out my Pinterest board for more ideas.

Lil Pip Sew Box Coin Purse


You have two options with the coin purse – round base or square base. Here I show you round base but the instructions are the same. Stay tuned for a super cute (possibly my favourite!) version with the square base in the next few days.

Step 1: Gather your supplies. You’ll need:

  • Metal frame (these were available exclusively in the February Sew Box Subscriptions)
  • Small pieces of fabric for outer and inner purse
  • Heavy iron on interfacing or you could use fusible webbing
  • Usual notions, threads, scissors etc
Gather your supplies

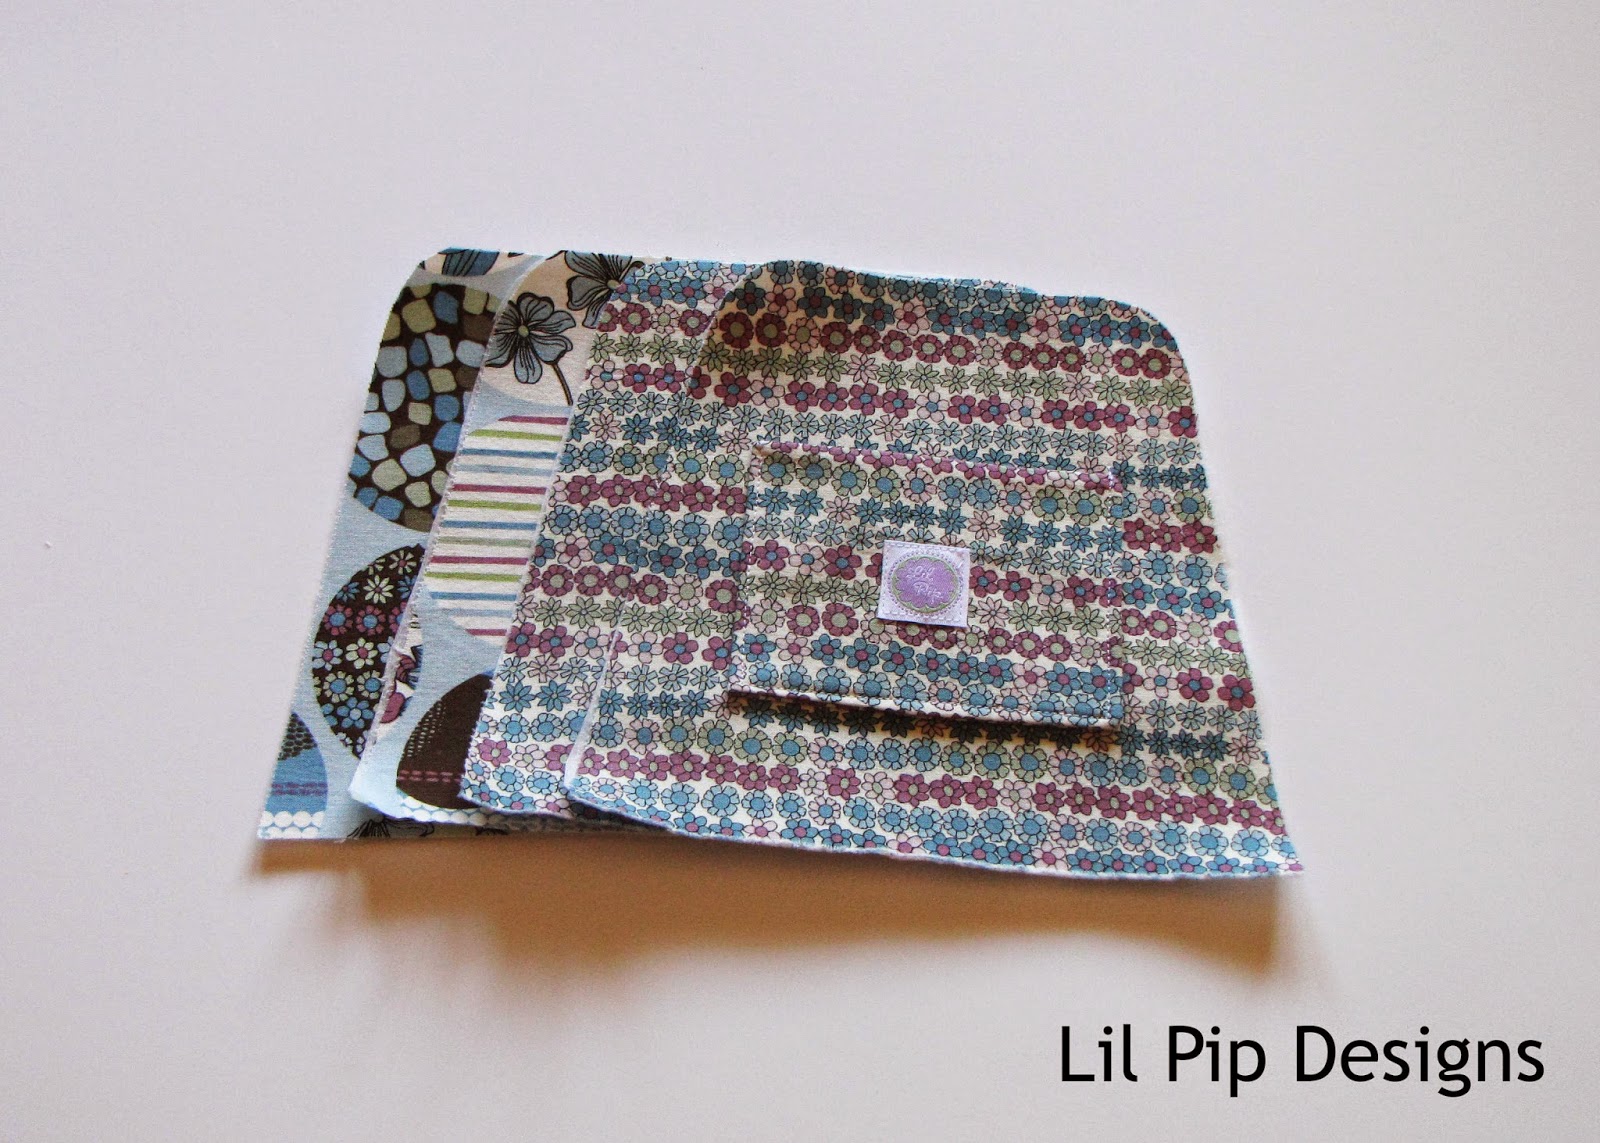
Step 2: Cut out your fabric, taking care with fabric placement and iron on your interfacing. You can choose to have the fusible webbing on the outer fabric and leave the lining without any or use heavy interfacing on both as I have done here.

Cut and iron on interfacing

Step 3: Sew around the outer purse leaving the top open. Use a 3/8" (edge of my foot!) for all seams throughout. Sew around the lining leaving a 1.5 – 2 inch turning gap. Trim back with pinking shears or clip the seams (take a look at this awesome post on Sew Mama Sew to explain why!)


Sew, trim and leave a turning gap

Step 4: With right sides together (RST) insert your lining into the outer (or outer into your lining!) taking care to match the side seams.

Step 5: Sew around the top completely. Take it slow as this is a little purse and those side seam points are tricky. Best to stop at the side seam, leaving your needle down and pivot the fabric, lower your foot and continue sewing.

Step 6: Trim the seams back with pinking shears or clip the seams. Turn your purse right way out through your turning gap.


Match side seams carefully and sew around
Step 7: Pin and sew your turning gap. You can hand stitch or just sew close to the edge. As this is hidden inside, I usually just machine stitch. I’m kinda lazy like that!

Step 8: Push your lining fabric back inside and iron your top curve carefully. Top stitch as close to the edge as you can. If you aren’t confident, you could skip this step but it stops it moving around for the next step.


Sew up your bottom turning gap - hidden on the inside

Step 9: Now for possibly the most time consuming part of this entire project – hand sewing the metal frame around the top. Find the centre point on both sides of your purse. Match to the centre point of your frame. Start in the middle and work to one side, then do the other side and repeat on the reverse. This ensures you don’t end up with a wonky purse. I recommend back stitch which I have tried to show here (or check out a better demonstration by my bloggy friend Vicki at LeftHandedNotions). Starting at point A, bring your needle up and down in point B. Bring your needle up at point C and back in at point A. Bring it up at D and back at point C. Continue to the end.


Your purse is now complete. Stand back and admire what you have created!


Resources:


Don't forget to share on social media (I love Instagram!) using the hashtag #lilpipsewboxpurse and check back tomorrow and throughout next week for other examples.

Tuesday, February 3, 2015

Kids Clothing Week: Peek a Boo Pattern Sailor Shorts


I had all these intentions of sewing a wardrobe full of clothes for Kids Clothing Week, to dazzle you all with my creations, to schedule something for each and every day – but that didn’t happen. This week I’ve gone back to work after nearly 6 weeks off for the summer holidays and while I did have time then, I just did so many other things! 

This is what happens when you ask a 5yo to put her hand up
and look like a pirate/sailor. She just didn't get it lol

I did however manage to sew these insanely cute sailor shorts with thanks to the fabric that arrived in my January Sew Box Subscription. In fact the anchor fabric, binding and buttons are from the January box and the red trim from the November box. The only things I added where the red cotton and the elastic. Awesome!!

I missed the bandwagon a few years ago with these sailor style shorts were all the rage but I thought this fabric really suited this style.

This is her idea of modeling. Oh help me!

It is a relatively easy sew, probably only took me an hour or so. Oh except when my button holes weren’t working so I took the opportunity to add them when I visited my business partner for the day (thanks Bridie).

I did change the bottom cuffs a little from the pattern, adding the trim and sewing them slightly different to enclose the edges completely.


As you can see, miss 5 (nearly 6!) loves them. Have you or are you making anything for Kids Clothing Week? The theme is upcycled and though this isn’t technically, I didn’t go out and buy anything new!

kid's clothes week

Related Posts Plugin for WordPress, Blogger...